Birds
Raising Quail texas
Raising quail in Texas is the perfect hobby for homesteaders looking to add a bit of rural charm to their lives. With its mild climate and plentiful vegetation, the Lone Star State provides ideal conditions for raising quail. From providing an easy source of protein to offering hours of entertainment, raising quail can bring a lot of joy to any homestead. In this blog post, we’ll discuss the basics of raising quail in Texas and explore some of the benefits of this rewarding hobby.
Introduction to quails
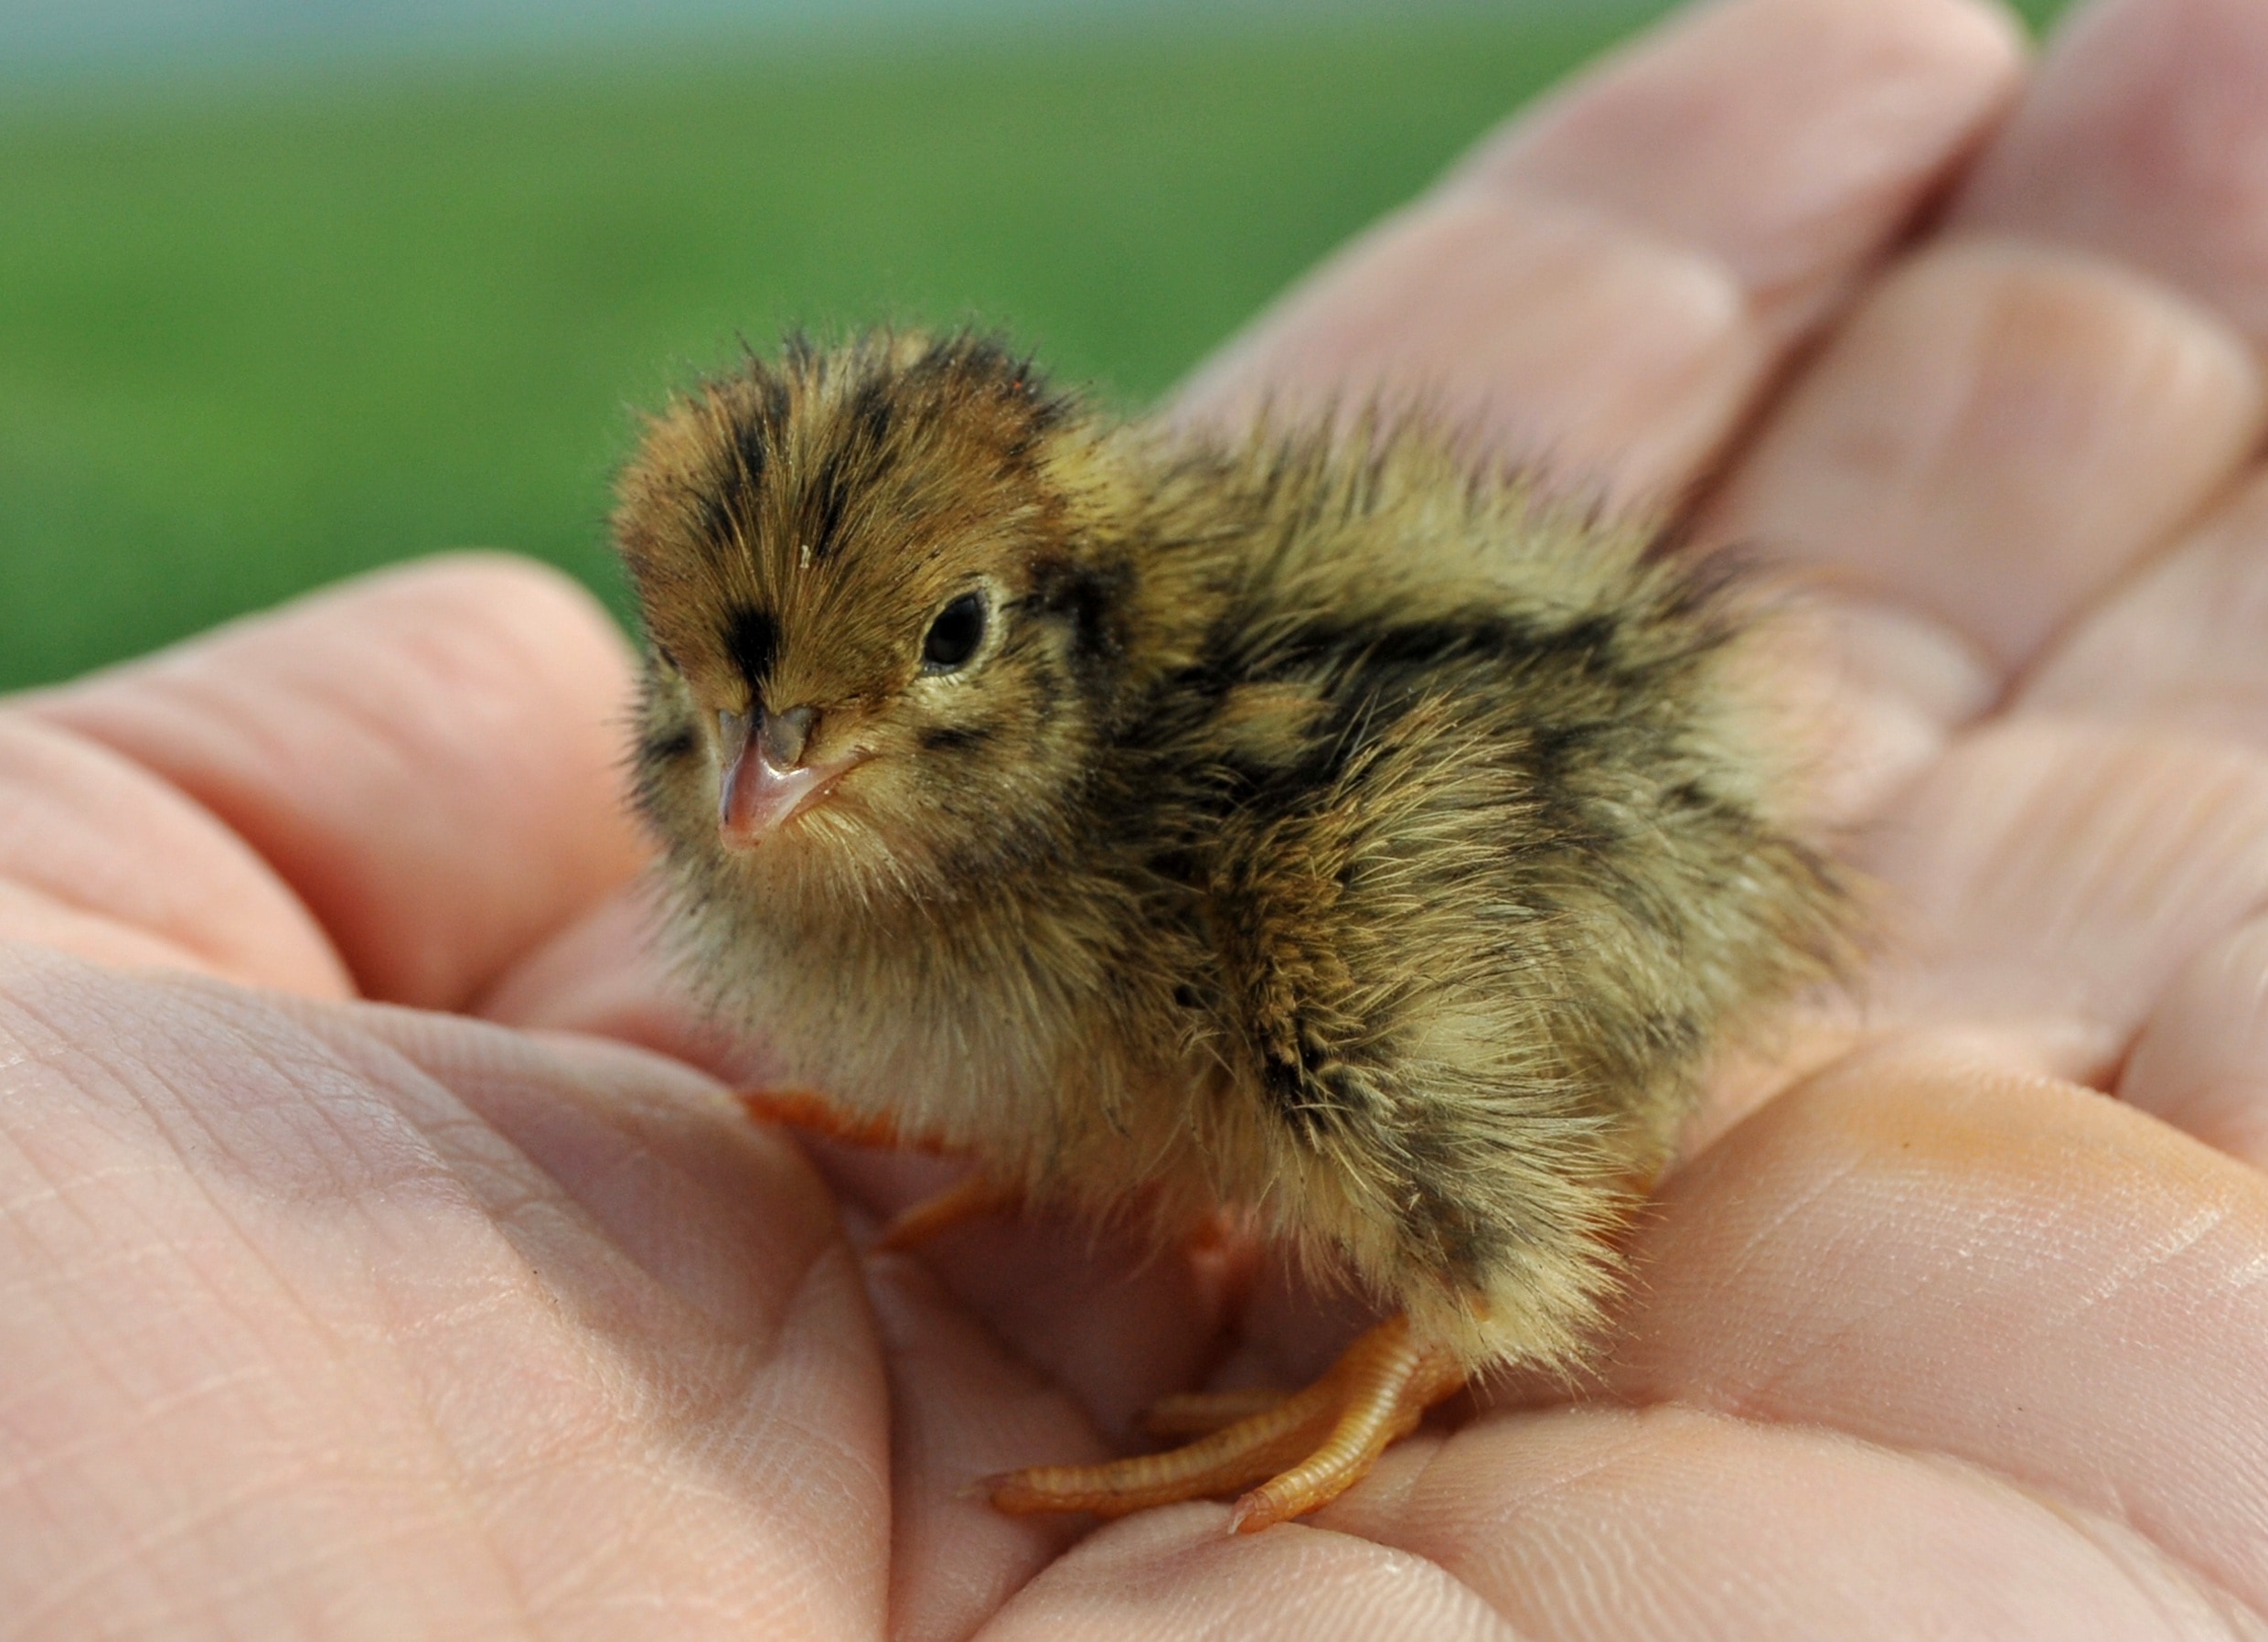
Quail is a type of small, ground-dwelling game bird that is native to the Americas and some parts of Europe and Asia. Quail are popularly kept as pets, used in hunting, and even as a source of food. The most common types of quail in the United States are Coturnix quail, or Japanese quail, which are the ones most often found for sale as eggs or day-old chicks. Raising quail is becoming increasingly popular with homesteaders and backyard enthusiasts alike.
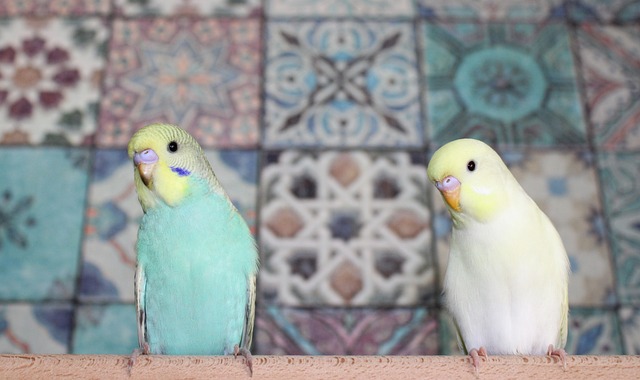
Quail are small birds, measuring between 7-10 inches long, depending on the species. They are highly adaptable and can live in virtually any environment, but they prefer areas that are grassy, dry, and low in predators. Quail also has a wide range of diet preferences and can feed on a variety of seeds, fruits, vegetables, and insects.
When it comes to raising quail, there are many benefits to consider. Quail are incredibly hardy and can withstand extreme temperatures, making them well-suited for a wide range of climates. They have a short incubation period of just 18-21 days compared to chicken eggs, meaning you can get chicks much faster than with other poultry breeds. Quail eggs have a delicate flavor and can be used in a variety of recipes from breakfast scrambles to baked goods. Finally, quails are relatively easy to care for and require minimal space compared to other poultry breeds.
Why raise quails?
Raising quail in Texas can be a great hobby for homesteaders, as they offer a unique and rewarding experience. Quail are relatively easy to keep and can produce delicious eggs, meat, and feathers, making them a valuable addition to any homestead. There are several reasons why raising quail may be right for you.
First, quails are low maintenance. They don’t require a lot of space, don’t need expensive feed, and won’t disturb your neighbors. Quails also reproduce quickly, meaning that it won’t take long to build up your flock. Furthermore, raising quail is an entertaining hobby, as their antics are often amusing.
Second, quails are highly efficient egg layers. While chickens usually lay only one egg per day, quails can lay up to 12 eggs per week! Plus, their eggs are small but nutritious—higher in protein and iron than chicken eggs.
Third, quail meat is a healthy alternative to other types of poultry. Quail meat is high in omega-3 fatty acids and lower in saturated fat than other poultry meats. It is also very lean and flavorful, making it an excellent choice for those who are looking for a healthier alternative to red meat.
Finally, if you’re interested in collecting feathers, quails are an excellent option. Their feathers can be used for a variety of crafts and decorations, making them a great choice for those who love DIY projects.
Overall, raising quail in Texas can be a fun and rewarding hobby that offers numerous benefits. If you’re looking for an easy-to-maintain bird with delicious eggs and meat, quails are the perfect choice.
How to get started
If you’re looking to start raising quail in Texas, the first thing you’ll need to do is decide which species of quail to raise. The most popular quail species raised in Texas are Coturnix quail, Bobwhite quail, and California Valley quail. Each of these species has different requirements and should be researched thoroughly before making your decision.
Once you’ve chosen a species of quail, the next step is to select a location for your quail pen. Quails need plenty of space to run around and forage, so it’s important to choose a spot that is spacious, dry, and well-ventilated. You’ll also want to make sure the area is free from predators such as foxes and hawks.
Once your pen is set up, it’s time to start buying your quail. If you’re purchasing from a local breeder, it’s best to buy a few more birds than you plan to keep, since some may not survive due to environmental stress or other factors. It’s also important to check for any disease or health issues that could affect your flock.
Once you have your quail, you’ll need to create a comfortable living environment for them. Make sure their housing is secure and that there are plenty of food and water dishes available. Quails need a source of light, so provide them with access to natural or artificial sunlight depending on the season. Lastly, make sure their bedding is kept clean and dry to prevent disease.
With these tips, you should have everything you need to get started raising quails in Texas. This hobby can be both rewarding and enjoyable, so don’t forget to have fun!

Choosing the right breed of quail
When it comes to raising quails in Texas, choosing the right breed can make all the difference. There are many breeds of quails, and each one has its unique characteristics, needs, and challenges. Some of the most popular breeds for backyard quail farming include the Coturnix, Bobwhite, and Gambel’s quail. Coturnix quails are known for their calm demeanor and are easy to raise. They are also the most common breed used for meat and egg production. Bobwhite quails are a little more challenging to raise, but they are known for their delicious meat. Gambel’s quails are a larger breed of quail, and they are also a little more challenging to raise. They are known for their beautiful feathers, and their meat is also highly sought-after. When choosing a breed of quail, it’s important to consider your goals for raising them. Do you want to raise them for meat, eggs, or just as a hobby? Also, consider the climate in your area and the availability of feed and resources. With a little research, you can find the right breed of quail that will thrive in your area and meet your needs.
Feeding and caring for your quail
Feeding and caring for your quail is an essential part of raising them successfully. Quails have a specific diet that must be met to keep them healthy and happy. They require a high-protein diet that consists of seeds, grains, and insects. You can purchase a commercial quail feed or make your own. If you choose to make your own, be sure to include a variety of ingredients such as oats, millet, and corn. It is also important to provide your quail with fresh water daily. In addition to feeding, quails require proper housing and care. They are social animals and should be kept in groups of at least three or four. Their housing should be kept clean and free of debris to prevent health issues. Quails prefer a dry environment, so be sure to provide them with a dry area to rest and lay eggs. Lastly, it is important to monitor your quail’s health regularly. Look for signs of illness or injury and take action immediately if you notice anything out of the ordinary. By following these tips, you can provide your quail with a healthy and happy life.
What you need to know
When it comes to raising quail in Texas, there are some important things you need to know before getting started. First and foremost, it is essential to understand the laws and regulations that surround quail keeping in the state. Quail are considered game birds, and their raising and hunting are strictly regulated. You will need to obtain the necessary licenses and permits, as well as stay within the legal bag limit when hunting.
You should also familiarize yourself with the different species of quail that can be found in Texas, including the Bobwhite Quail, Scaled Quail, and Montezuma Quail. Each species has its own unique set of requirements when it comes to diet and habitat, so it’s important to do your research before deciding which type of quail you’d like to raise.
Once you’ve chosen a species, you’ll want to look into the type of housing you’ll need for your quail. Quail can be housed in cages or aviaries, but they do require an environment with plenty of space to run around and explore. Additionally, you should also consider what kind of substrate (such as wood shavings) will be best for your quail. It’s also important to make sure your quail has access to a regular supply of water, food, and grit (grit helps break down food in the bird’s digestive system).
Last but not least, it’s essential that you provide the necessary care and attention to your quail. Quails can get sick or injured if they’re not properly cared for, so you’ll need to keep a close eye on their health. Regularly cleaning their cages and checking them for any signs of illness or injury will help ensure they stay healthy and happy.
Tips for Success
Raising quails in Texas can be a fun and rewarding experience, but it requires a lot of hard work and dedication. Here are some tips for success:
- Provide adequate space- Quails need enough space to move around, especially if they are kept in a cage. Ensure that you provide at least two to three square feet of space per bird.
- Provide a balanced diet- Quails require a balanced diet that includes grains, seeds, and protein. It is important to provide them with the right food mix, and you can also supplement their diet with insects, worms, and grubs.
- Keep them safe- Quails are vulnerable to predators, and you must ensure that they are safe from predators such as foxes, raccoons, and cats. You can use traps or fencing to keep them safe.
- Maintain hygiene- Quails require good hygiene, and you must ensure that their coop is always clean and dry. This will help prevent diseases and infections.
- Provide water- Quails require clean water to survive, and you must ensure that they have access to fresh water all the time.
6. Keep them warm- Quails require warmth to survive, and you must ensure that their coop is warm enough during cold weather. You can use heating lamps or heaters to keep them warm. By following these tips, you can ensure that you have a successful quail-raising experience in Texas.
Read Also:
Raising Quail eggs
Raising Quail to hunt
Birds
7 Effective Ways to Protect Your Pigeons from Diseases

Birds
Temperature to incubate duck eggs
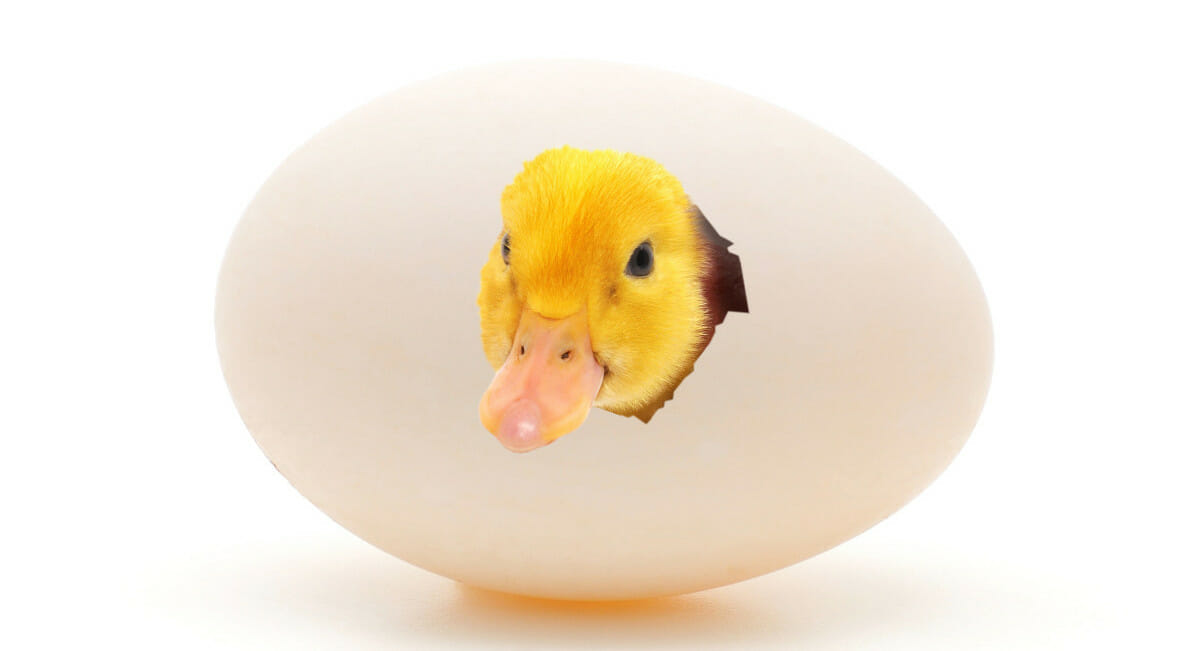
If you’re looking to incubate duck eggs, you’ll need to make sure the temperature is just right! Incubating duck eggs requires precise temperatures and humidity levels to ensure the eggs develop properly. In this blog post, we’ll go over the optimal temperature for incubating duck eggs so that you can be successful in your hatching process.
Fill a large, clean container with warm water.
When it comes to incubating duck eggs, the temperature of the water is essential. The ideal temperature for duck eggs is around 100°F (37.8°C). To ensure your eggs are incubating at the right temperature, you need to fill a large, clean container with warm water.
You can use a shallow container or an aquarium as long as it’s clean and large enough to accommodate the number of eggs you have. If you’re using a shallow container, you may need to top up the water now and then to keep the temperature stable.
Fill the container with warm tap water – but make sure you check the temperature of the water before adding the eggs. You don’t want it to be too hot as this can damage the eggs. Use a thermometer to check that the water is around 100°F (37.8°C) and adjust if necessary. Once the temperature is correct, you’re ready to add the eggs!
Place the eggs in the container.
Once you have the container filled with the desired temperature of warm water, it is time to add the eggs. Make sure that each egg is completely submerged in the water. The warmth of the water will help keep the eggs at a consistent temperature throughout the incubation period. Additionally, be sure to not overcrowd the container; leaving some space between each egg will help ensure that the eggs are evenly heated and receive adequate airflow. After all of the eggs have been placed in the container, cover the container with a lid and make sure that it is sealed tightly.
Check the temperature of the water regularly.
When incubating duck eggs, it is important to check the temperature of the water regularly. The ideal temperature for hatching duck eggs is 99.5-102°F (37.5-38.8°C). Using a thermometer, make sure that the temperature of the water stays within this range. If the temperature starts to drop below 99.5°F (37.5°C), you can add warm water to bring it back up. On the other hand, if the temperature rises above 102°F (38.8°C), you can add cooler water to bring it down. Additionally, it is important to check the temperature of the water at least twice a day to ensure that it remains consistent. This will help provide your duck eggs with an optimal environment for hatching.
Adjust the temperature as necessary.
When incubating duck eggs, it is important to make sure that the temperature stays at a consistent level throughout the incubation period. This can be done by regularly checking the temperature of the water in the container and adjusting it as necessary. Depending on the size of the container and how many eggs you are incubating, you may need to use a thermometer or an incubator to maintain the correct temperature.
The optimal temperature range for duck eggs is between 37 and 40 degrees Celsius. Make sure that you adjust the temperature accordingly if it falls outside this range. If the temperature is too low, it could lead to embryonic death; if the temperature is too high, it could cause poor hatchability. To make sure your eggs stay at a steady temperature, try to keep the water in the container warm but not hot. You may also want to use an egg turner to ensure that all of your eggs are evenly heated.

Keep the eggs in the container until they hatch.
Once you have the eggs in the container and the temperature is steady, it is important to keep them there until they hatch. This process typically takes 28-35 days. Check on the eggs daily, making sure the temperature remains constant and that the eggs are still firmly in place. You can also turn the eggs over gently every day to ensure even heat distribution. To monitor the progress of the eggs, it is recommended to handle them every week or so. Candling involves shining a bright light through the eggshell to check for signs of life inside. As hatching approaches, you may notice cracks in the shells, which is an indication that the eggs are about to hatch. Once the chicks have fully emerged, you can remove them from the container and move them to their permanent home.
Read Also :
Keeping ducks out of the pool
Raising Quail eggs
Birds
06 Tips For Properly Caring For Your Parakeets
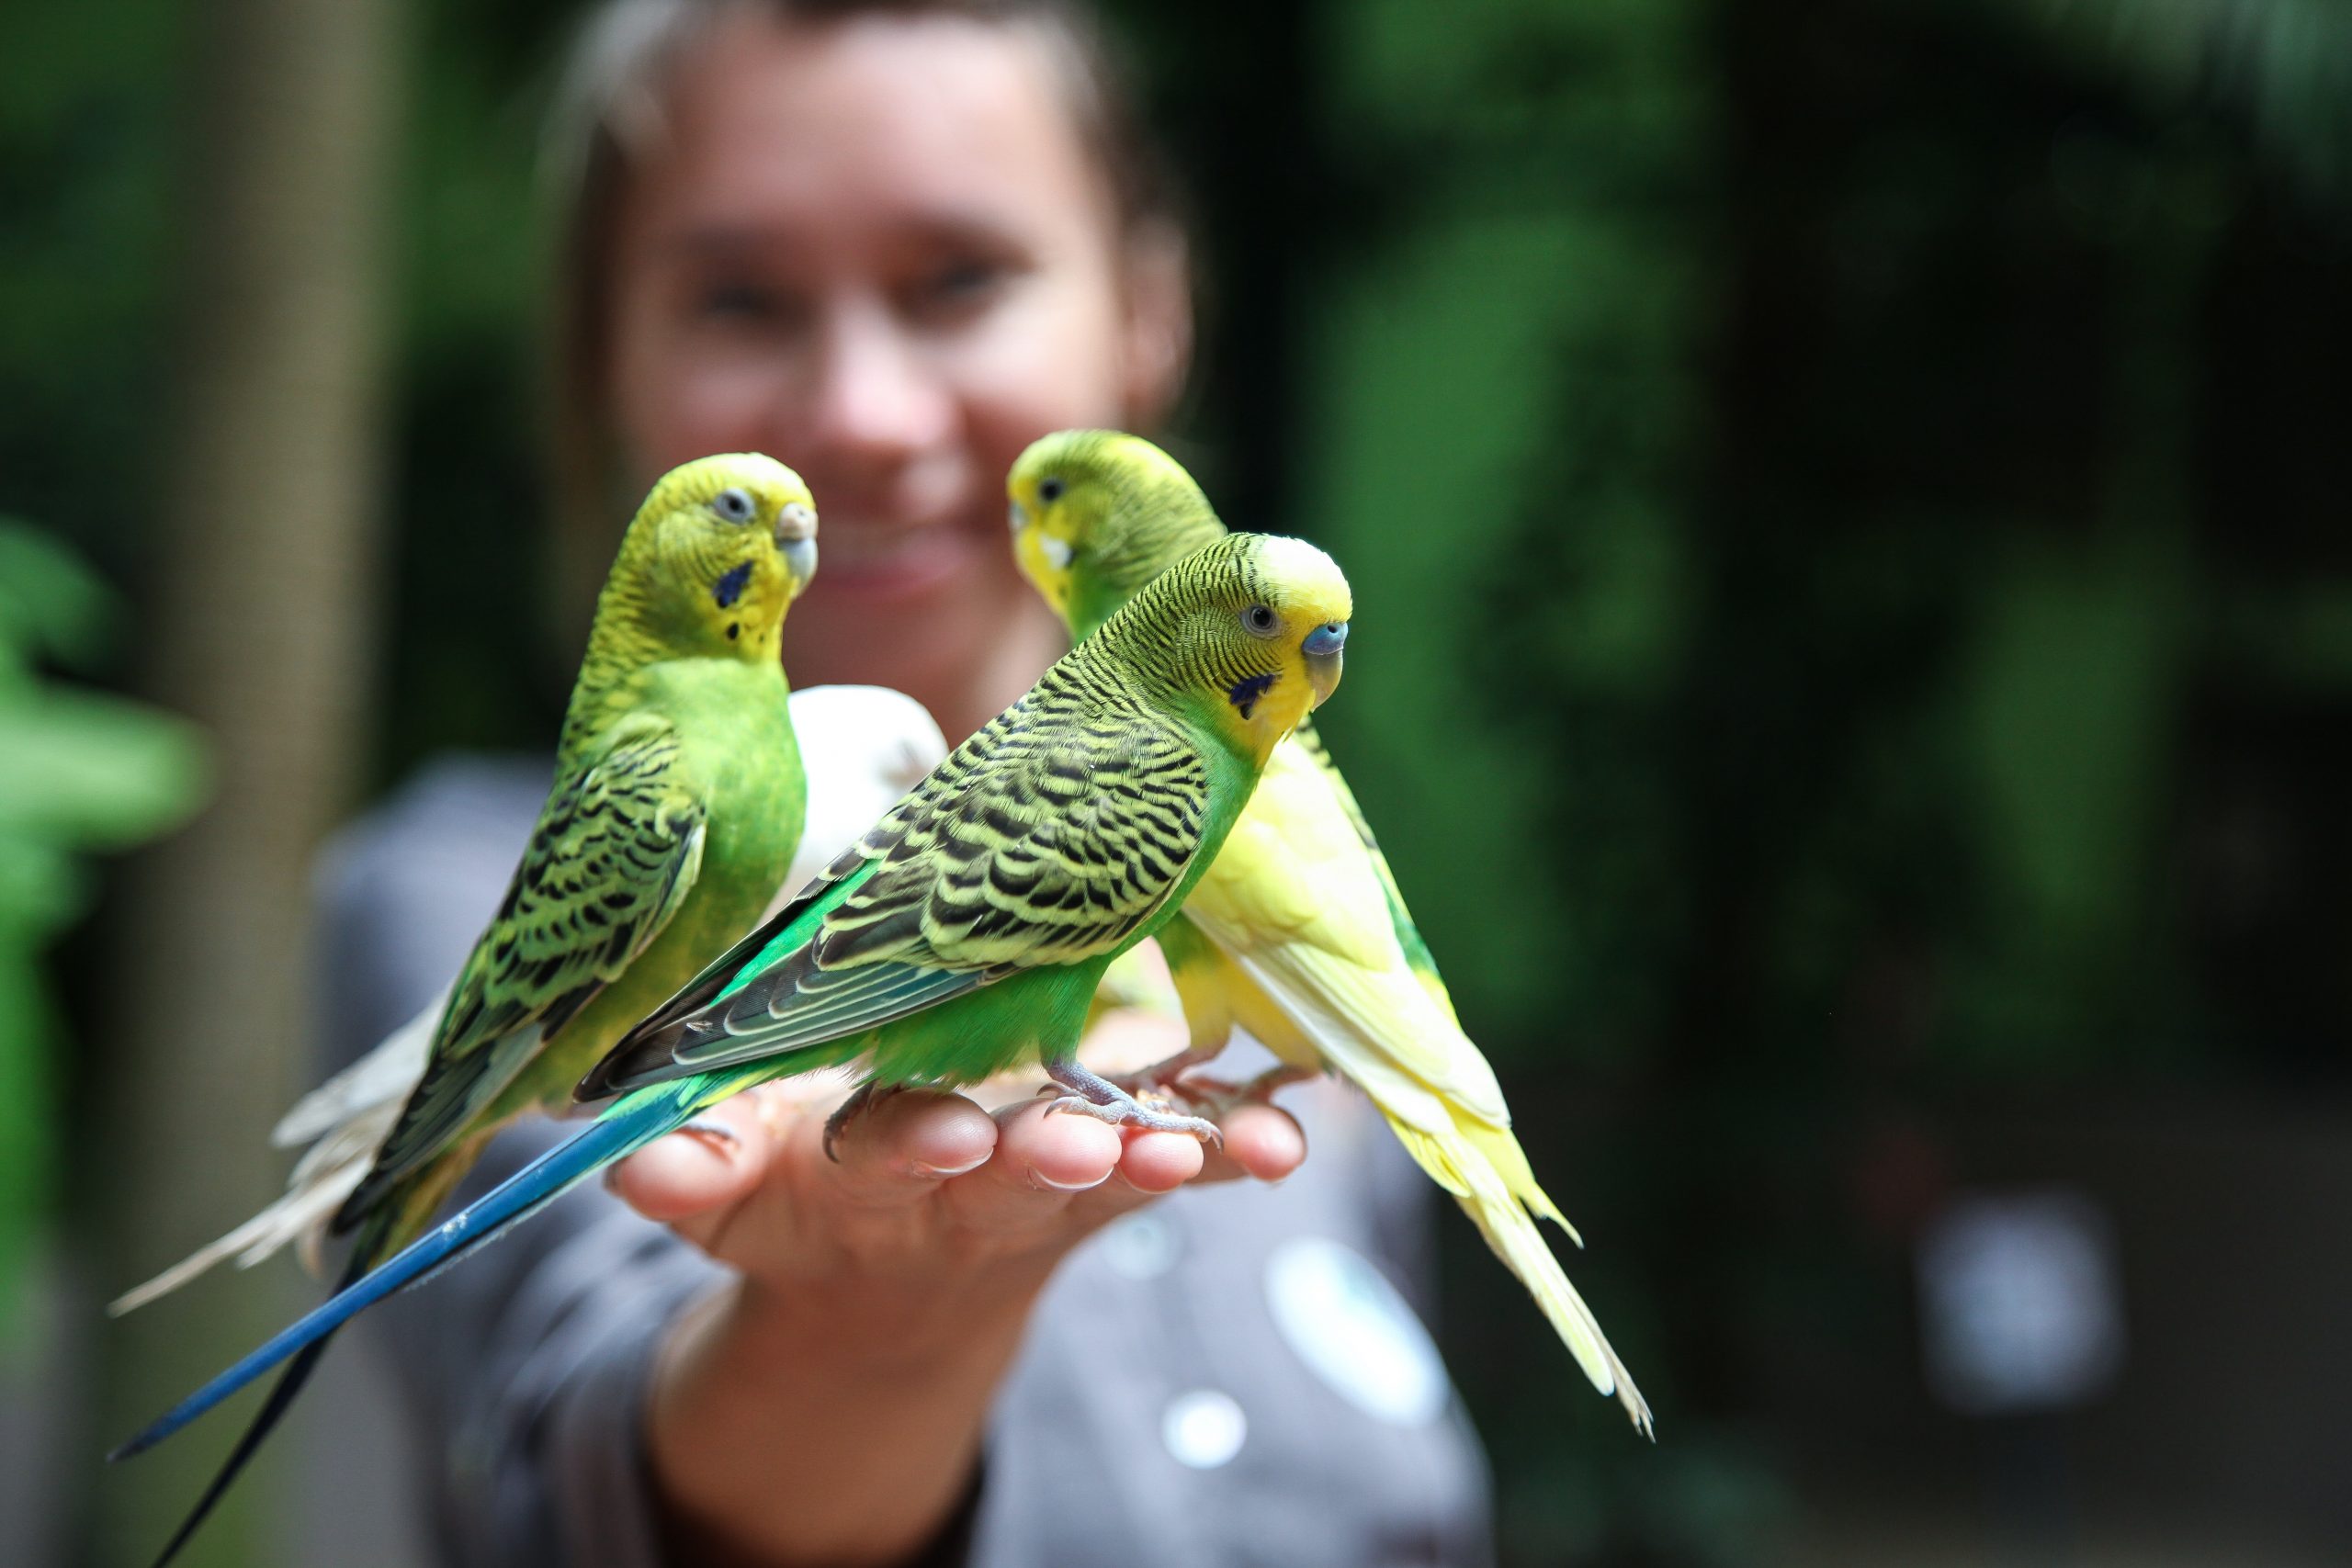
Want to make your pet parakeet’s life as enjoyable as possible? Follow these six tips for proper parakeet care, and you’ll help give them a happy and healthy life!
1) Don’t Let Their Cage Become Dirty
Be sure to clean your parakeet’s cage regularly, particularly if you see them doing their business in it. If they urinate in their cage, be sure to clean that area as soon as possible and refill their water container and food bowls. Also, wipe down any perches or other areas of their cage with a damp paper towel. Doing these things will make sure that your parakeet doesn’t get sick! What To Feed Them: In terms of feeding, it is important to ensure that your parakeet has an appropriate diet.
2) Feed Them Appropriately
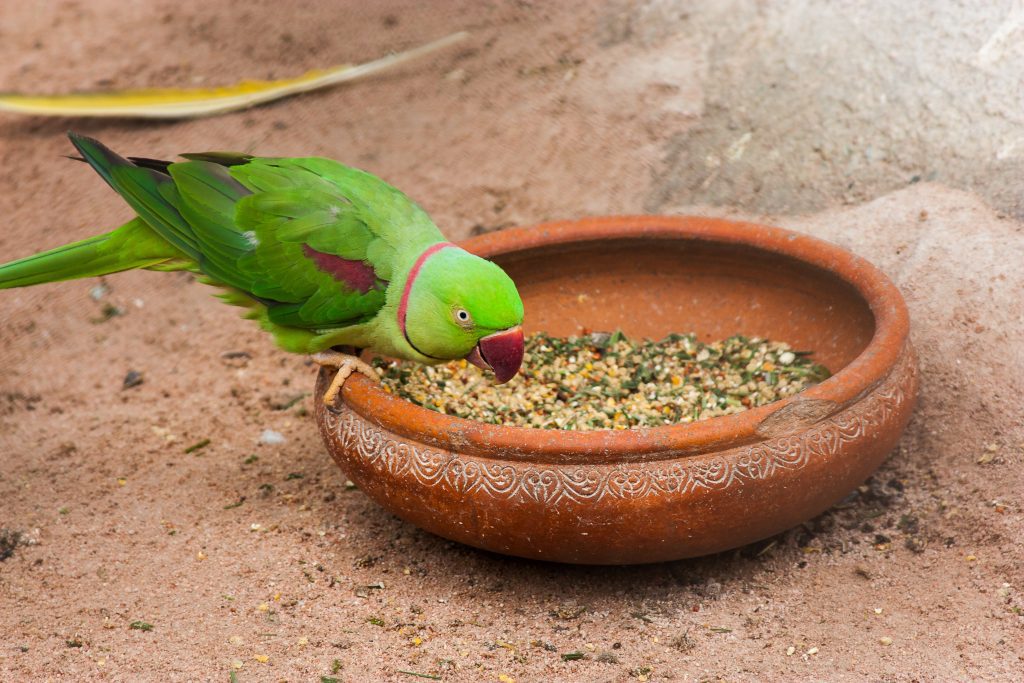
The type and frequency of food you feed your parakeet will make a huge difference in his overall health and happiness. Choose your bird’s food carefully, and avoid cheap filler foods with high sugar content. Try to mimic natural feeding habits by offering fresh fruits and veggies as well as small amounts of nuts and seeds from time to time. Also, be sure that water is clean and fresh at all times. Water bottles should be changed regularly and kept away from drafts or direct sunlight.
3) Provide Fresh Water
Fresh water is essential for parakeet survival, and it’s easy to forget to provide enough of it at all times. If you want your parakeets to thrive, be sure you provide a fresh supply of clean water at all times. The size of their bowls should not just be based on capacity; they must also be large enough that your birds can dip their heads in them without spilling water while they drink. It’s also important to make sure that no standing water remains in their bowl after each use.
4) Give Them Time Outside of The Cage
A lot of parakeet owners may feel like their pet bird is isolated, cooped up in that cage all day and night. This doesn’t have to be so. By giving them time outside of their cage each day, you allow them to stretch their wings and just have fun being a bird! Not only will your pet enjoy his or her time outside of their cage, but you’ll get some extra bonding time with him or her as well. Many experts recommend spending at least 15 minutes every day interacting with your pet birds out of their cages.
5) Always Remember That They Are Wild Animals
Keeping a parakeet in your home can make for an incredibly fun, adorable, and interesting experience, but it’s important to remember that they are wild animals. They need the freedom to fly and explore outside of their cage. You must give them time out of their cage regularly—at least once per day—to stretch their wings and enjoy themselves. This will keep them happy and healthy. If you have any other pets or children at home, be sure to watch them carefully around your new pet bird so as not to frighten or stress him/her.
6) Don’t Keep One By Yourself
In general, parakeets make poor solitary pets. They are social creatures and do best when in a flock of at least two or three. If you do happen to have only one bird, make sure to spend as much time with it as possible to help it feel more secure. Be sure to include your pet in family activities whenever possible, even if it’s just watching TV together.
Read Also :
Get to Know Birds: The Basic Tricks You Need to Know
The Perfect Blend for Your Birds: Birds and Blend


 Cats12 months ago
Don’t Feed Your Cat These 8 Foods!
 Cats8 months ago
Why Do Cats Spray and How Can You Stop Them? Insights into Urine Spraying in Male Cats
 Dogs2 years ago
So You’re Thinking About Getting a Poodle
 Birds1 year ago
The Perfect Blend for Your Birds: Birds and Blend
 Horses1 year ago
Don’t Go Horse Shopping Without Checking This Dressage Horse Shopping Checklist First!
 Cats7 months ago
Pre-Vaccination Prep: Getting Your Cat Ready
 Cats7 months ago
The Ins and Outs of Cat Sterilization: Removing the Female’s Ovaries
 Cats6 months ago
Why Kittens are Born Dead or Deformed


Pingback: Raising Quail to hunt - Gentel Life Plus