Birds
Raising Quail eggs
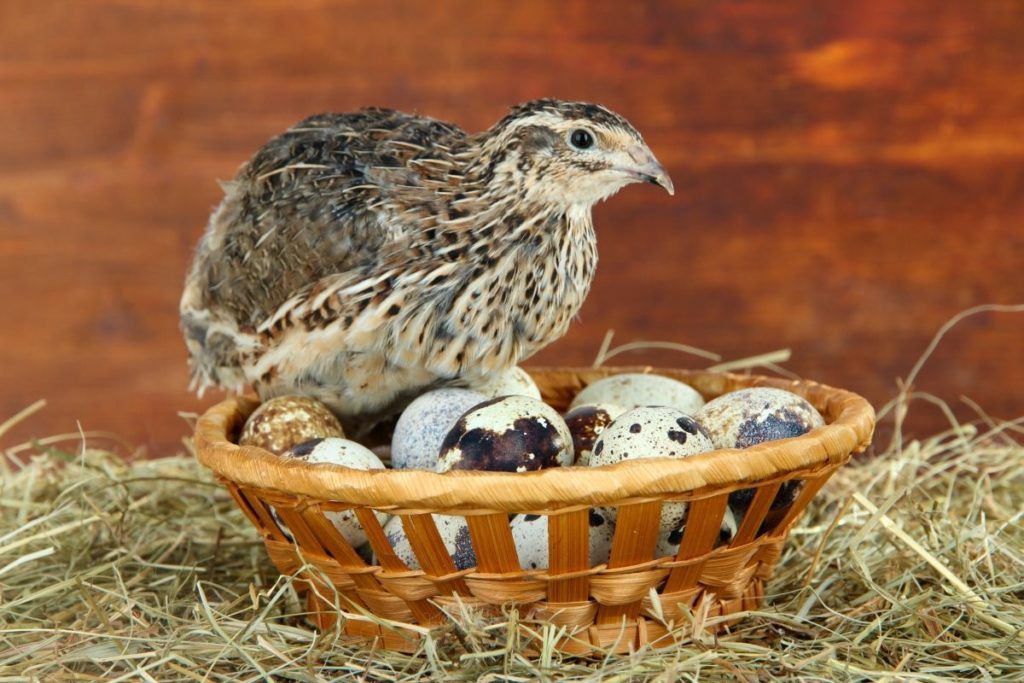
If you’re interested in raising quail eggs at home, you may be wondering how best to do it. Raising quail eggs can be a rewarding and enjoyable experience, but there are a few tips and tricks you should know before getting started. In this blog post, we’ll provide an overview of what it takes to successfully raise quail eggs and provide some helpful tips and tricks along the way.
Gather your materials
If you’re planning to raise quail eggs, you’ll need to gather the necessary materials. The most important items include an incubator, brooder, feed, water dishes, and nesting boxes.
An incubator is a device that provides a consistent temperature and humidity environment for your eggs during their development. A brooder is a heated area that allows the quail chicks to grow until they are ready to live in their natural environment.
Feed and water dishes are necessary to keep your quail healthy and hydrated. Nesting boxes should be provided so that the quail can lay eggs in a safe and secure environment. You may also want to provide toys and other enrichment items to keep your quail entertained.
Finally, it is important to select the right type of feed for your quail eggs. Different types of quail have different dietary needs, so be sure to research the correct feed for your species before making a purchase.
Create a comfortable environment
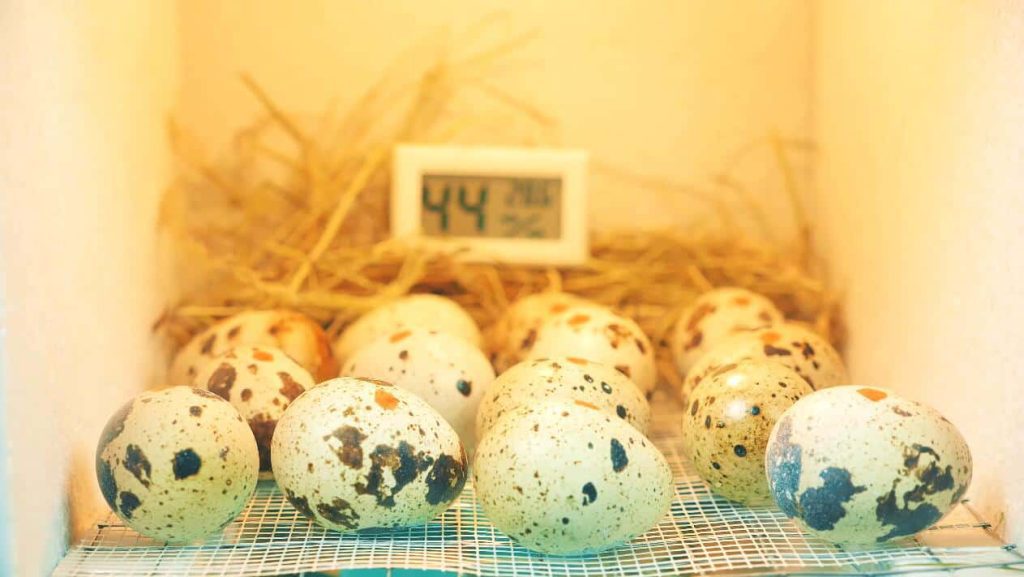
Creating a comfortable environment for your quail eggs is important to ensure they have the best chance at hatching. You will need to make sure the environment is kept at a stable temperature and humidity level, as these factors can have a significant impact on the hatching rate.
When setting up the environment, make sure to use a box or container with air vents that allow air to circulate and regulate the temperature. This will help keep the temperature consistent throughout the incubation process. You can also purchase a specialized incubator for better temperature regulation.
You should also pay attention to the humidity levels in the environment. Too much humidity can cause water loss from the eggs which can harm the developing embryos. Aim to maintain the humidity between 40-50% throughout the incubation period. You can purchase a hygrometer to measure and monitor the humidity in the box or incubator.
Finally, make sure to provide adequate ventilation for your quail eggs. This will help prevent bacteria and fungi growth and reduce the risk of infection in the developing embryos. A fan or small air blower can be used to create airflow, but make sure it’s placed far enough away from the eggs so it doesn’t blow directly on them.
Incubate your eggs
Incubating quail eggs is a simple but important step in the process of raising quail. The first thing you need to do is purchase an incubator. Incubators come in all shapes and sizes, but it’s important to get one that is specifically designed for quail eggs. Quail eggs require lower temperatures than chicken eggs, so make sure to adjust the settings on your incubator accordingly.
Once you have your incubator, it’s time to set up the eggs. Make sure to prepare the incubator according to the instructions provided with your model. Place the eggs into the incubator and close the lid. Make sure that you have the correct temperature and humidity settings for quail eggs before you begin.
Leave the eggs in the incubator for 21-23 days before hatching. During this time, you’ll need to regularly check on them to ensure they are in optimal condition. Monitor the temperature and humidity levels and make sure they stay within a safe range. If the readings are too high or too low, adjust accordingly.
When it comes time to hatch your eggs, you’ll want to give them a gentle rocking motion every day. This helps to stimulate the chicks inside and can help encourage them to break free from their shells. After about a day of rocking, the eggs should start to hatch. Be careful not to force them open as this could damage the chicks inside.
Once your chicks have hatched, remove them from the incubator immediately and provide them with the care they need. Congratulations, you’ve successfully incubated quail eggs!
Care for your quails
It’s important to make sure that your quails are well cared for to produce healthy eggs. Quails need a safe and comfortable environment that provides plenty of room to move around and forage. Here are some tips for how to best care for your quails:
- Provide adequate housing – Your quails should have plenty of space to move around, especially when they’re laying eggs. You should have a large pen or coop with plenty of bedding, nesting materials, and perches.
- Feed them the right food – Quail needs a balanced diet that includes fresh vegetables, grains, and protein. A commercial feed specifically made for quail is best, but you can also supplement their diet with scraps from your kitchen.
- Ensure adequate water – Quail needs clean, fresh water at all times. Make sure to provide enough water for all your quails, as not having enough can lead to dehydration or malnutrition.
- Provide dust baths – Quails love to take dust baths! This helps them keep their feathers clean and free of parasites. All you need is a shallow container filled with dry dirt or sand and place it in the pen.
- Keep the environment clean – The living environment of your quail needs to be kept clean to prevent disease and parasites. Clean the pen regularly, and make sure to remove any eggs that aren’t being incubated.
By following these tips, you can ensure that your quails remain healthy and happy. Not only will this help ensure better egg production, but it will also ensure your quail’s quality of life.
Collect your eggs
When the time comes to collect your quail eggs, make sure that you do so in a gentle, careful manner. You want to avoid damaging any of the eggs in the process. Start by locating the nest box, then use a small hand brush to carefully sweep away any excess dirt or debris from around the eggs. Next, gently lift each egg from the nest and place it into an egg carton or egg basket for safekeeping. Make sure to handle the eggs with care, as the thin shell is delicate and can break easily.
Once all of the eggs have been collected, check each one for cracks or abnormalities. Discard any eggs that appear damaged, then store the rest in a cool, dry place. Quail eggs should generally be used within a few days of collection to ensure optimal freshness.
With proper care and attention, you should be able to successfully raise your quail eggs at home. Remember to stay patient and diligent throughout the process and you will reap the rewards of your efforts. Enjoy your quail eggs and good luck!
Read Also :
Raising Quail to hunt
Raising Quail Texas
Birds
7 Effective Ways to Protect Your Pigeons from Diseases

Birds
Temperature to incubate duck eggs
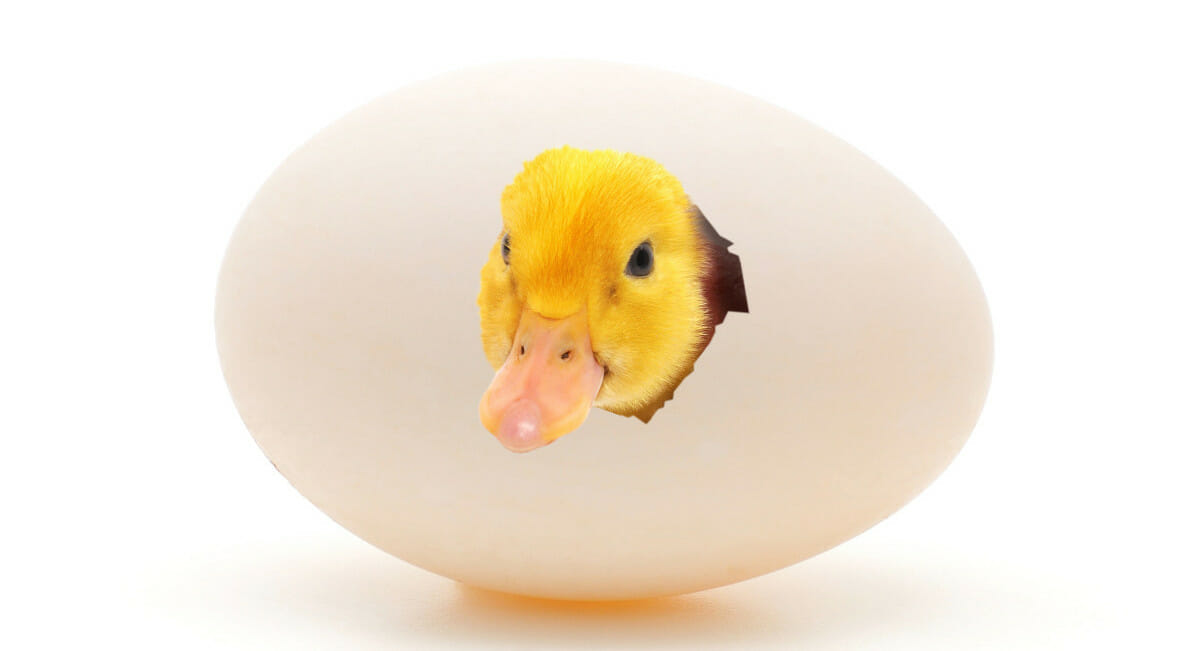
If you’re looking to incubate duck eggs, you’ll need to make sure the temperature is just right! Incubating duck eggs requires precise temperatures and humidity levels to ensure the eggs develop properly. In this blog post, we’ll go over the optimal temperature for incubating duck eggs so that you can be successful in your hatching process.
Fill a large, clean container with warm water.
When it comes to incubating duck eggs, the temperature of the water is essential. The ideal temperature for duck eggs is around 100°F (37.8°C). To ensure your eggs are incubating at the right temperature, you need to fill a large, clean container with warm water.
You can use a shallow container or an aquarium as long as it’s clean and large enough to accommodate the number of eggs you have. If you’re using a shallow container, you may need to top up the water now and then to keep the temperature stable.
Fill the container with warm tap water – but make sure you check the temperature of the water before adding the eggs. You don’t want it to be too hot as this can damage the eggs. Use a thermometer to check that the water is around 100°F (37.8°C) and adjust if necessary. Once the temperature is correct, you’re ready to add the eggs!
Place the eggs in the container.
Once you have the container filled with the desired temperature of warm water, it is time to add the eggs. Make sure that each egg is completely submerged in the water. The warmth of the water will help keep the eggs at a consistent temperature throughout the incubation period. Additionally, be sure to not overcrowd the container; leaving some space between each egg will help ensure that the eggs are evenly heated and receive adequate airflow. After all of the eggs have been placed in the container, cover the container with a lid and make sure that it is sealed tightly.
Check the temperature of the water regularly.
When incubating duck eggs, it is important to check the temperature of the water regularly. The ideal temperature for hatching duck eggs is 99.5-102°F (37.5-38.8°C). Using a thermometer, make sure that the temperature of the water stays within this range. If the temperature starts to drop below 99.5°F (37.5°C), you can add warm water to bring it back up. On the other hand, if the temperature rises above 102°F (38.8°C), you can add cooler water to bring it down. Additionally, it is important to check the temperature of the water at least twice a day to ensure that it remains consistent. This will help provide your duck eggs with an optimal environment for hatching.
Adjust the temperature as necessary.
When incubating duck eggs, it is important to make sure that the temperature stays at a consistent level throughout the incubation period. This can be done by regularly checking the temperature of the water in the container and adjusting it as necessary. Depending on the size of the container and how many eggs you are incubating, you may need to use a thermometer or an incubator to maintain the correct temperature.
The optimal temperature range for duck eggs is between 37 and 40 degrees Celsius. Make sure that you adjust the temperature accordingly if it falls outside this range. If the temperature is too low, it could lead to embryonic death; if the temperature is too high, it could cause poor hatchability. To make sure your eggs stay at a steady temperature, try to keep the water in the container warm but not hot. You may also want to use an egg turner to ensure that all of your eggs are evenly heated.

Keep the eggs in the container until they hatch.
Once you have the eggs in the container and the temperature is steady, it is important to keep them there until they hatch. This process typically takes 28-35 days. Check on the eggs daily, making sure the temperature remains constant and that the eggs are still firmly in place. You can also turn the eggs over gently every day to ensure even heat distribution. To monitor the progress of the eggs, it is recommended to handle them every week or so. Candling involves shining a bright light through the eggshell to check for signs of life inside. As hatching approaches, you may notice cracks in the shells, which is an indication that the eggs are about to hatch. Once the chicks have fully emerged, you can remove them from the container and move them to their permanent home.
Read Also :
Keeping ducks out of the pool
Raising Quail eggs
Birds
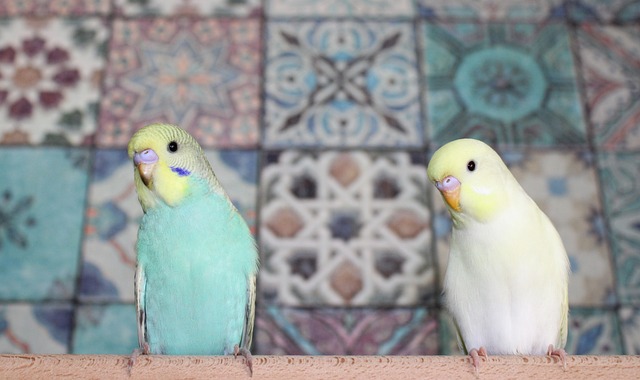
06 Tips For Properly Caring For Your Parakeets
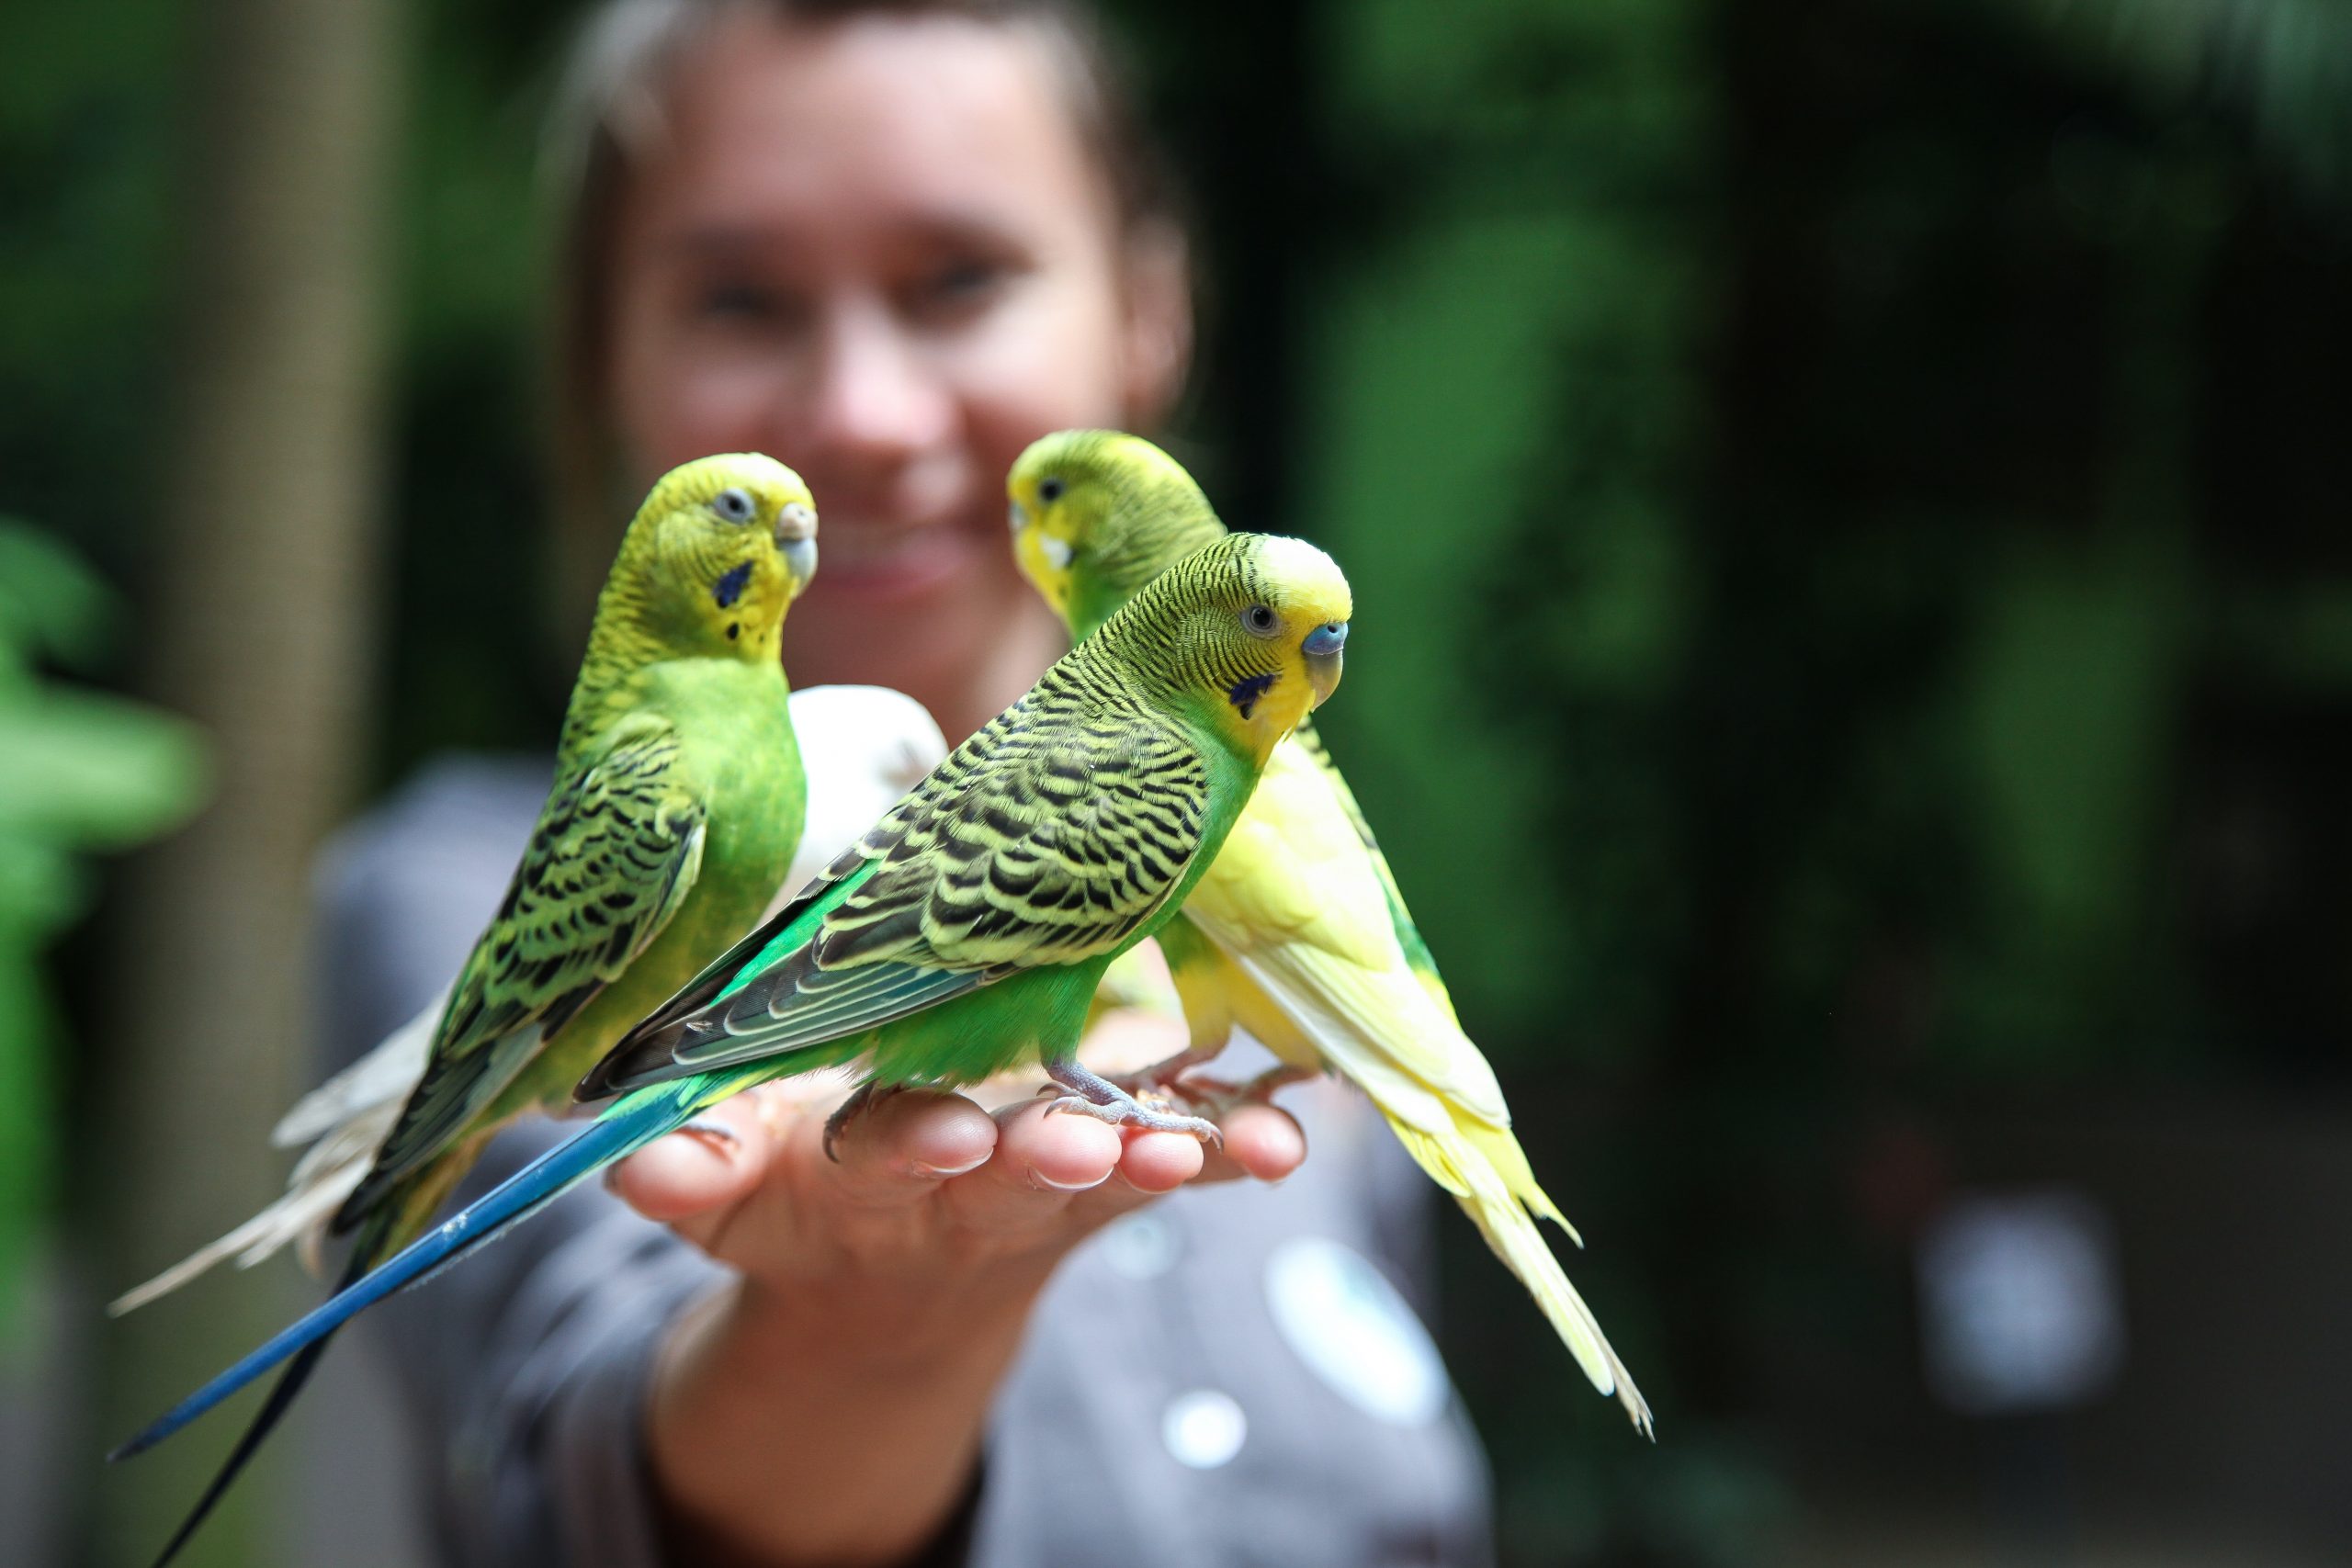
Want to make your pet parakeet’s life as enjoyable as possible? Follow these six tips for proper parakeet care, and you’ll help give them a happy and healthy life!
1) Don’t Let Their Cage Become Dirty
Be sure to clean your parakeet’s cage regularly, particularly if you see them doing their business in it. If they urinate in their cage, be sure to clean that area as soon as possible and refill their water container and food bowls. Also, wipe down any perches or other areas of their cage with a damp paper towel. Doing these things will make sure that your parakeet doesn’t get sick! What To Feed Them: In terms of feeding, it is important to ensure that your parakeet has an appropriate diet.
2) Feed Them Appropriately
The type and frequency of food you feed your parakeet will make a huge difference in his overall health and happiness. Choose your bird’s food carefully, and avoid cheap filler foods with high sugar content. Try to mimic natural feeding habits by offering fresh fruits and veggies as well as small amounts of nuts and seeds from time to time. Also, be sure that water is clean and fresh at all times. Water bottles should be changed regularly and kept away from drafts or direct sunlight.
3) Provide Fresh Water
Fresh water is essential for parakeet survival, and it’s easy to forget to provide enough of it at all times. If you want your parakeets to thrive, be sure you provide a fresh supply of clean water at all times. The size of their bowls should not just be based on capacity; they must also be large enough that your birds can dip their heads in them without spilling water while they drink. It’s also important to make sure that no standing water remains in their bowl after each use.
4) Give Them Time Outside of The Cage
A lot of parakeet owners may feel like their pet bird is isolated, cooped up in that cage all day and night. This doesn’t have to be so. By giving them time outside of their cage each day, you allow them to stretch their wings and just have fun being a bird! Not only will your pet enjoy his or her time outside of their cage, but you’ll get some extra bonding time with him or her as well. Many experts recommend spending at least 15 minutes every day interacting with your pet birds out of their cages.
5) Always Remember That They Are Wild Animals
Keeping a parakeet in your home can make for an incredibly fun, adorable, and interesting experience, but it’s important to remember that they are wild animals. They need the freedom to fly and explore outside of their cage. You must give them time out of their cage regularly—at least once per day—to stretch their wings and enjoy themselves. This will keep them happy and healthy. If you have any other pets or children at home, be sure to watch them carefully around your new pet bird so as not to frighten or stress him/her.
6) Don’t Keep One By Yourself
In general, parakeets make poor solitary pets. They are social creatures and do best when in a flock of at least two or three. If you do happen to have only one bird, make sure to spend as much time with it as possible to help it feel more secure. Be sure to include your pet in family activities whenever possible, even if it’s just watching TV together.
Read Also :
Get to Know Birds: The Basic Tricks You Need to Know
The Perfect Blend for Your Birds: Birds and Blend


 Cats1 year ago
Don’t Feed Your Cat These 8 Foods!
 Cats11 months ago
Why Do Cats Spray and How Can You Stop Them? Insights into Urine Spraying in Male Cats
 Cats10 months ago
The Ins and Outs of Cat Sterilization: Removing the Female’s Ovaries
 Cats10 months ago
Pre-Vaccination Prep: Getting Your Cat Ready
 Cats9 months ago
Why Kittens are Born Dead or Deformed
 Dogs2 years ago
So You’re Thinking About Getting a Poodle
 Dogs10 months ago
What to Do With Your Dog’s Body After Death: A Guide for Pet Owners
 Cats9 months ago
Signs of Cat Pregnancy Week by Week


Pingback: Raising Quail texas - Gentel Life Plus